A little while back, I was in a minor accident while cycling my old 1970s Raleigh road bike that I converted to electric. While I came out unscathed, the bike didn't. The frame was completely mangled in the crash, and at least one of the rims was bent beyond immediate economical repair. If I ever find myself with an abundance of time, perhaps I will make an attempt at straightening it all out. But, for now I needed to find a new bike to transport me around the city.
🚲 Choosing The Bike
I have for the longest time wanted a Pashley Mailstar/Pronto. It's the cargo bike of choice for the Royal Mail and An Post. My mail is delivered by Mailstar every day. And, while certainly not the best-looking bike, there were several nice features that attracted me towards one, knowing that I would be fitting my Bafang BBS02 (which thankfully survived the crash) to it:
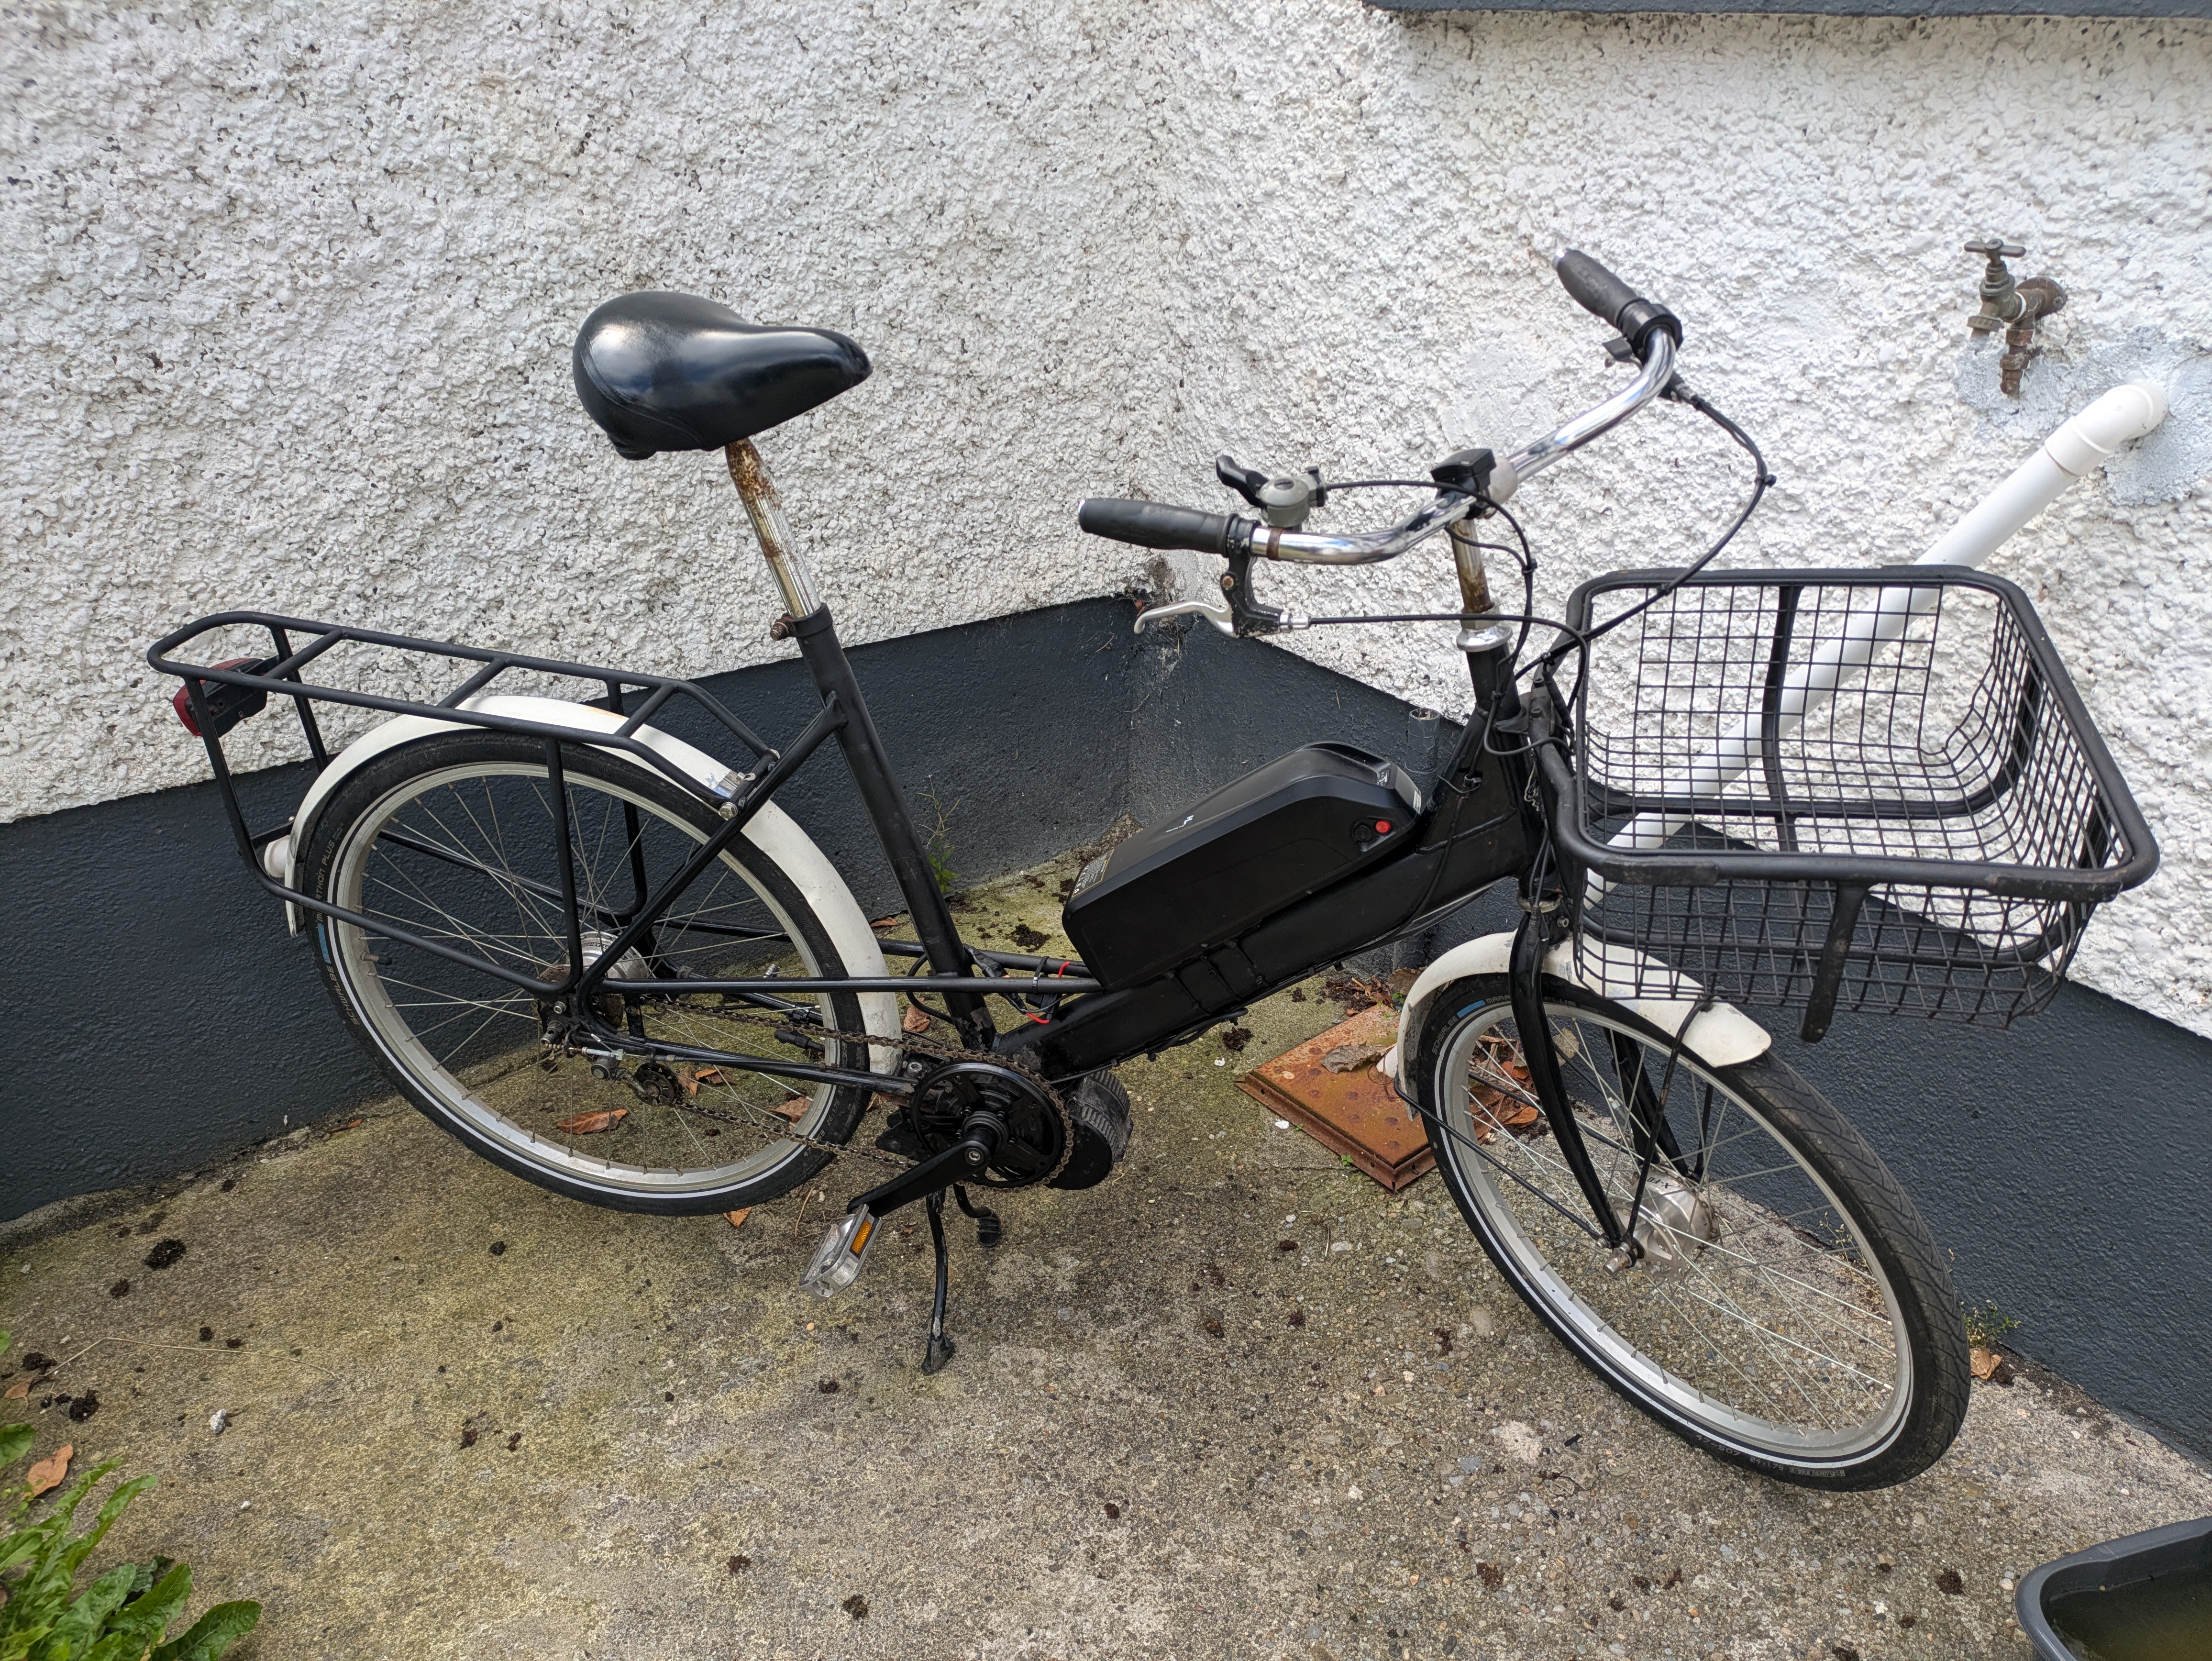
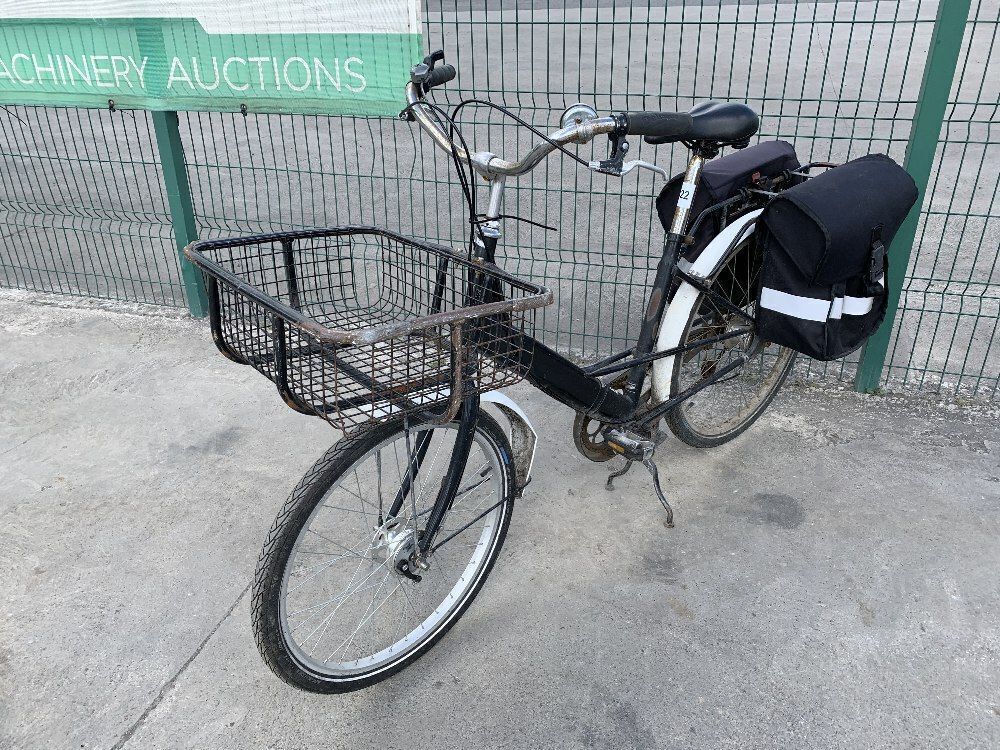
I picked up a bike for a decent price on DoneDeal. I believe it was at one stage an An Post bike judging from the colour and configuration. An Post opted for North Road handlebars, a specific front box, and a grey frame with white mudguards.
It was important to me to get a bike that was already in decent working order, and I would generally recommend the same to anyone undertaking an eBike conversion. There's enough work involved in the conversion that having to also restore the rest of the bike will slow you down, and could risk the project stalling and never getting finished.
In my case, even with the bike in good working order, I came across a few annoying blockers throughout the conversion process that I wouldn't have necessarily come across on a newer bike.
The Conversion
A mid-drive conversion is, in my opinion, the most universally compatible conversion you can do. Mid-drive motors also typically have better torque than hub motors, brilliant for commuter bikes.
🧰 Tools Used
1. Removing the crank arms
The first step in a mid-drive conversion is removing the pedal assembly and crank arms. Typically, you'll need a crank puller to remove the crank arms on most bikes made after the 1970s. Pre-70s bikes are often cottered. They use a cotter pin that has to be hammered out to remove the crank arm. They're nearly always seized and are a pain to remove.
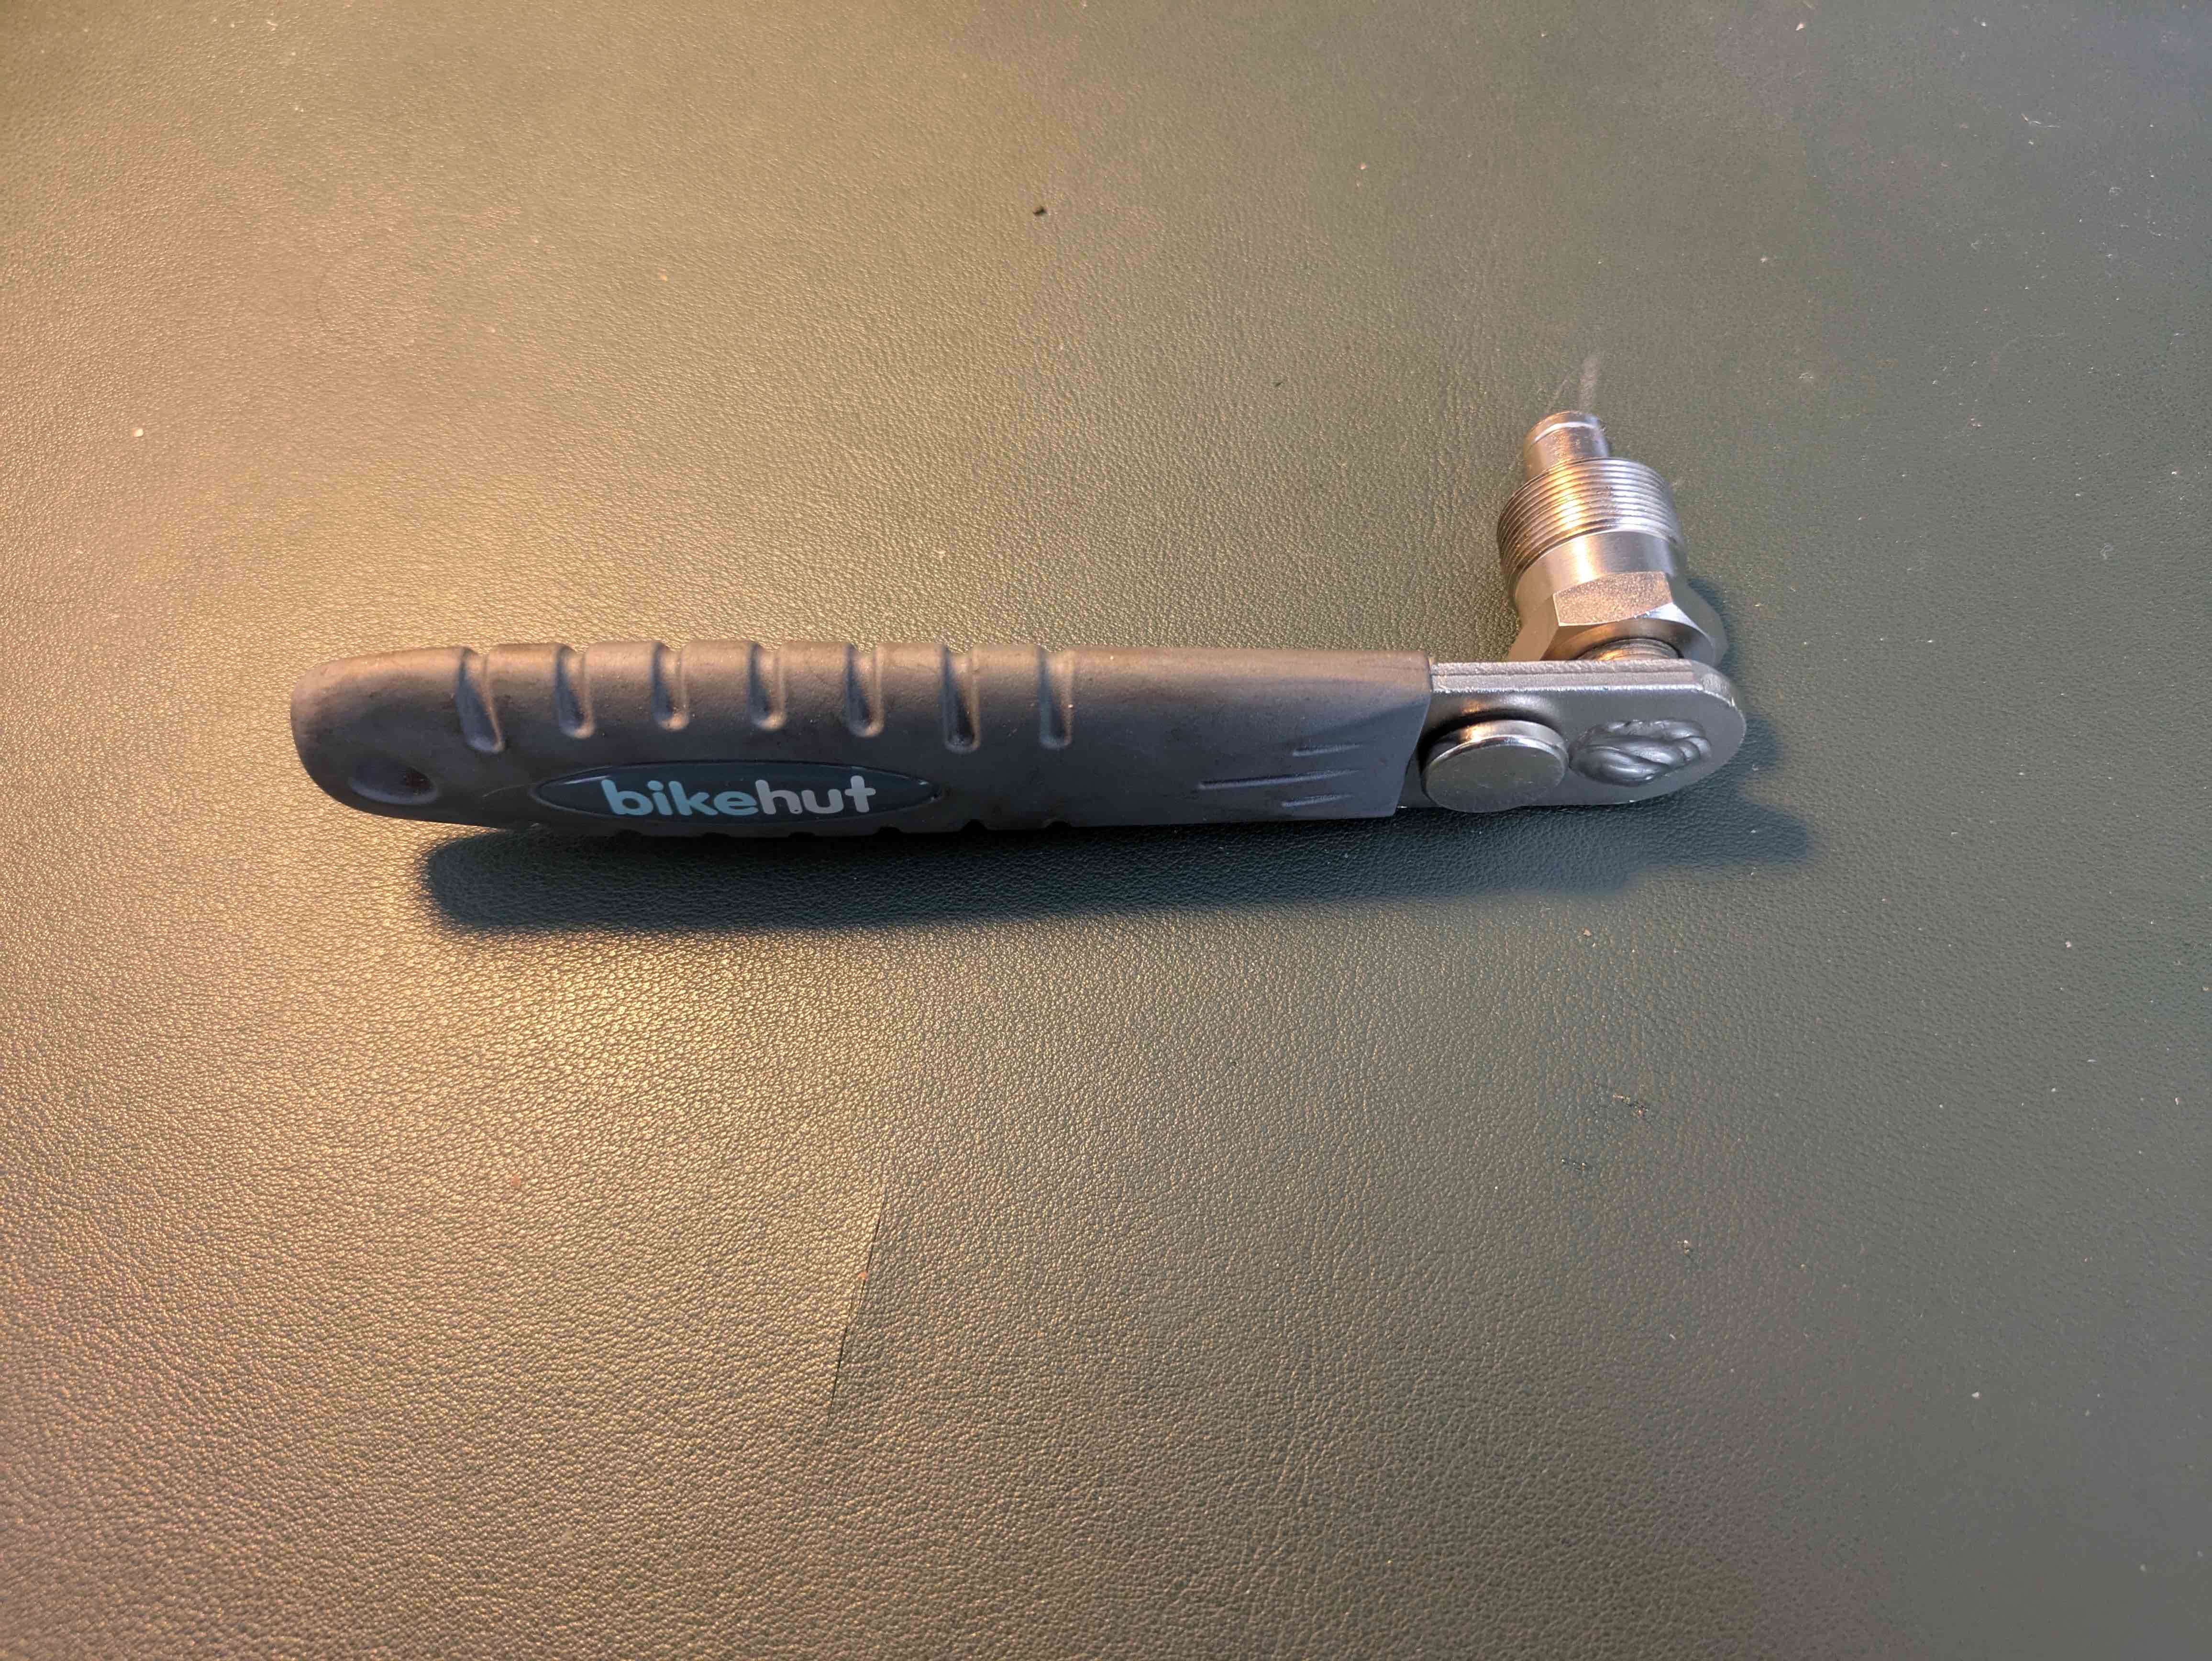
Thankfully, the Pashley uses a standard M8 crank bolt, so I could use my crank puller. I've had a bikehut one for years and it works perfectly well. I recommend that you do your own research ahead of your conversion to determine how to remove the crank arms.
I removed the non-drive side fine, but the crank arm threads on the drive side were completely stripped. This meant that the crank puller couldn't get enough grip on the crank arm to pull it away from the bottom bracket.
The solution was to place the bike on the flat, and use a three-arm puller to pull the crank arm free. Importantly, I needed to sacrifice an 8mm socket by placing it at the end of the puller. An 8mm socket is the perfect size to push against the bottom bracket without fitting into the hole for the crank arm bolt.
I placed each arm of the puller around the crank arm sprocket, and tightened until it came free. It will likely require a lot of force to free the crank arm. You need to ensure that the puller is applying force as perpendicularly as possible to the crank arm so that it doesn't slip off. It may feel like you're about to break something, but most of the time this is normal.
I took this technique straight from RJ the Bike Guy who has a brilliant video on this exact problem.


2. Removing the bottom bracket
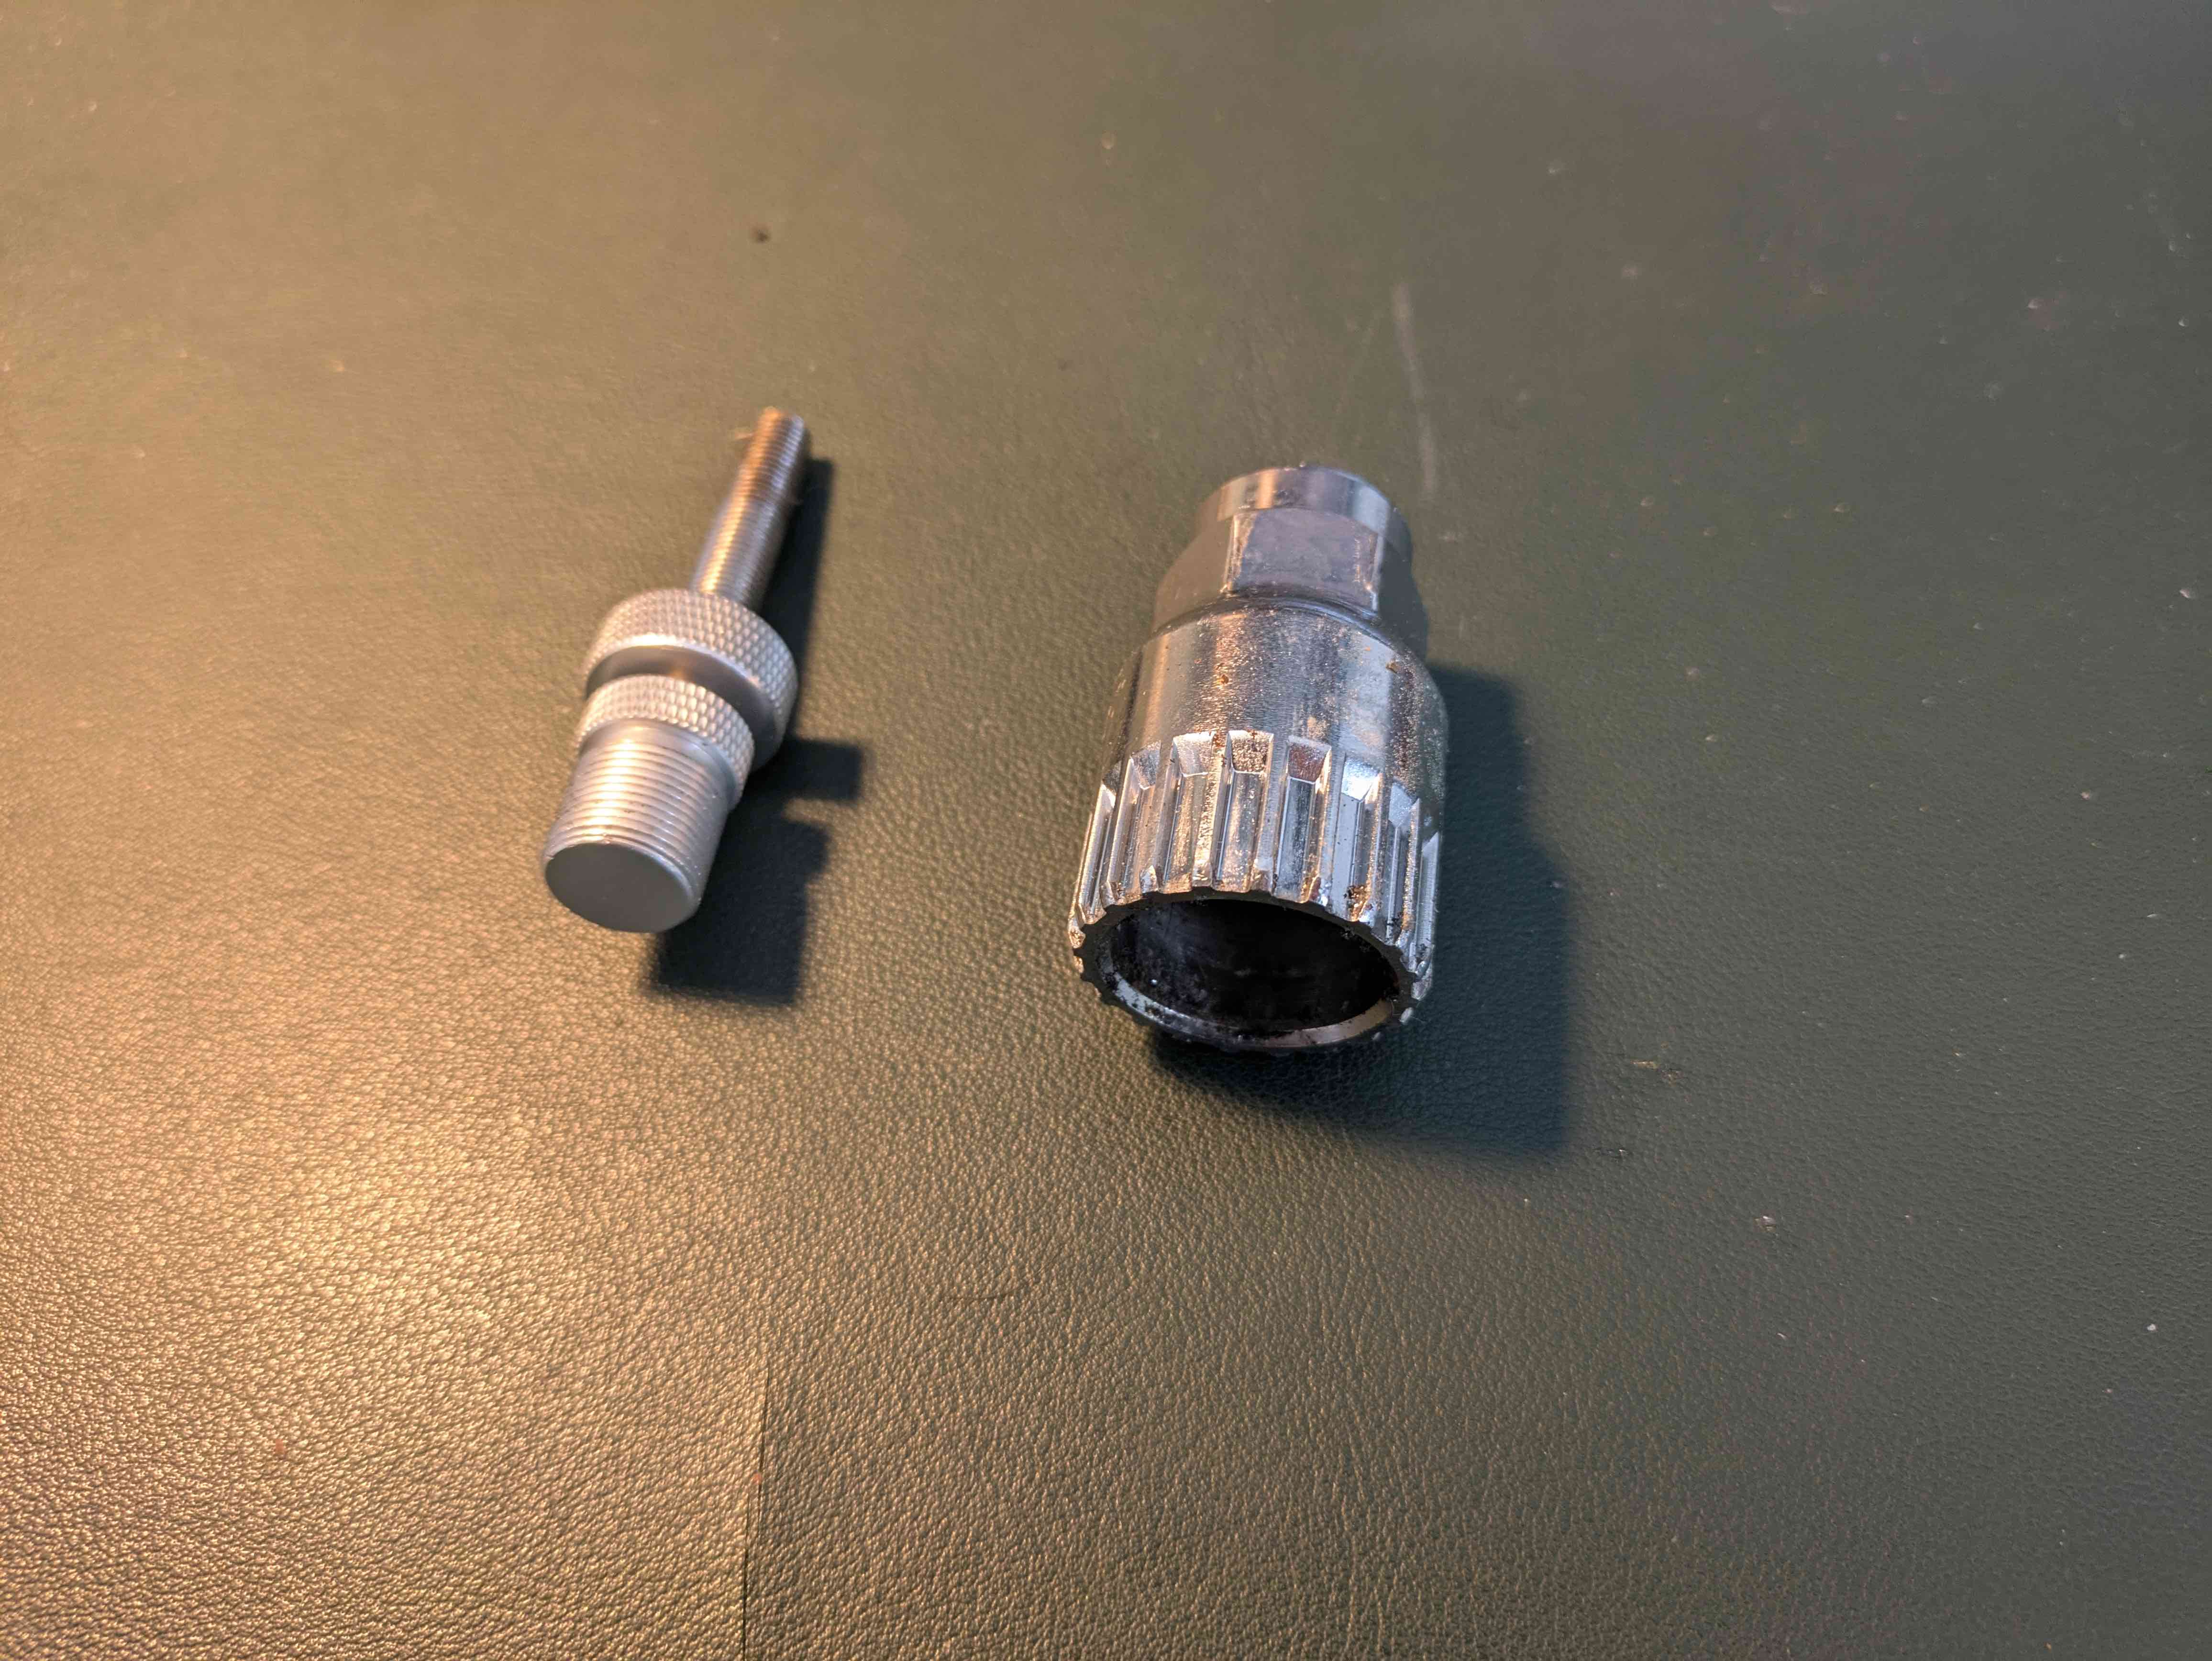
The next challenge was to remove the bottom bracket from the bike. One of the joys of bicycles is that for things like bottom brackets and crank arms, there are many different "standards". Many of these require special tools to remove. Park tool has a nice guide on the different standards. The Pashley uses an English threaded shell, and the bottom bracket requires a 20-tooth removal tool. It was incredibly difficult to get information on what tool I needed online. I think Pashley has used different bottom brackets over the years, so I chose to get the bike first, and then order the bottom bracket tool that I needed.
An important thing to note about English threaded shells is that the non-drive side uses a standard right-hand threading, but the drive side uses a left hand thread (righty loosy).
I ended up placing the bike on the flat, like what I did when removing the crank arm, attaching the largest ratchet I could find, placing a foot on top of the ratchet to make sure the tool wouldn't slip, and gave it a few whacks with my hand and it came loose. I found that there was very shallow tool engagement on the bottom bracket shell, which made applying pressure with a foot to the ratchet very important, and also a bit tricky.
My bottom bracket tool also came with a piece that threaded into the crank arm bolt thread to apply pressure to the tool for you. However, you can't use a ratchet when using the tool, and I didn't have a large enough spanner to fit around the tool, so I had to use the shoe method instead.

3. Fit the Bafang Motor Bottom Bracket
There are lots of very good tutorials on fitting a Bafang BBS02 so I won't cover that in detail. The main gist is that the Bafang uses a press fit shell, which means that it can be easily fitted to nearly any bicycle, including weird vintage bikes like my old Raleigh, or this Pashley.
Some things that I've learned about fitting the Bafang in my time are:
✅ Results
I'm pretty happy with it! The bike itself is super easy to ride. Anyone from 5ft to 6ft 5 or even taller can comfortably ride it. The three-speed is perfect for around the city. It brakes significantly better than my old Raleigh ever did, and the extra cargo carrying ability is really useful. The weight is the biggest downside, but the BBS02 has more than enough power to compensate for it. Most importantly, the bike looks shabby enough that it is mostly safe from being stolen in Dublin. Like most cities, bike theft is pretty common here, so having a nice shiny new bike is asking for it to be stolen.
🔮 Future Work
I'm not quite done with it yet though. Some other bits that I'll be doing to it over the next while are:
All in all, this Pashley conversion has been a rewarding project. The bike is comfortable, practical, and quirky in all the right ways. I’m looking forward to putting many miles on it—and not having to carry pillows strapped to my arms again.